


20 Nov How to Make an Advent Wreath
Background:
The triumph of light over dark is a common theme in the Advent season. Christ, our true light, has come into the darkness of the world, and the darkness has not overcome him. One way the Church has brought this theme to life is in the Advent wreath.
Traditionally, Advent wreaths hold four coloured candles, lit one by one through the four weeks of the season. These candles represent in order: hope, love, joy, and peace. Each is purple except the pink, which represents joy. A fifth candle, the white Christ candle, is first lit on Christmas Eve or on Christmas Day.
Advent wreaths are a great way to mark the Advent season and involve your household in the process. Below are some instructions for how you might create your own. Once you have your wreath and candles in place, you’ll be able to journey through the season with our weekly Advent devotional cards.
Preparation:
To start your Advent wreath, you need a “ring” made from twigs or vines that are stripped of leaves. You can buy one (at Kmart or Holstens) or create your own. If making your own, the frame needs to be made with “pliable” or “flexible” branches and be strong enough to hold additional sprigs of leaves, berries, flowers, or whatever you would like to add as you make your wreath. Dead branches will not work as they easily break as you bend them. Be careful of using vines that seep sap or milky substances (like star jasmine or some evergreens). These will leave a gooey mess on your wreath and will be difficult to manipulate. Also, privet (a common hedge plant) is not a good idea as it can cause allergies and asthma-inducing symptoms as well as headaches. Its pretty white spray flowers look good but be wary!
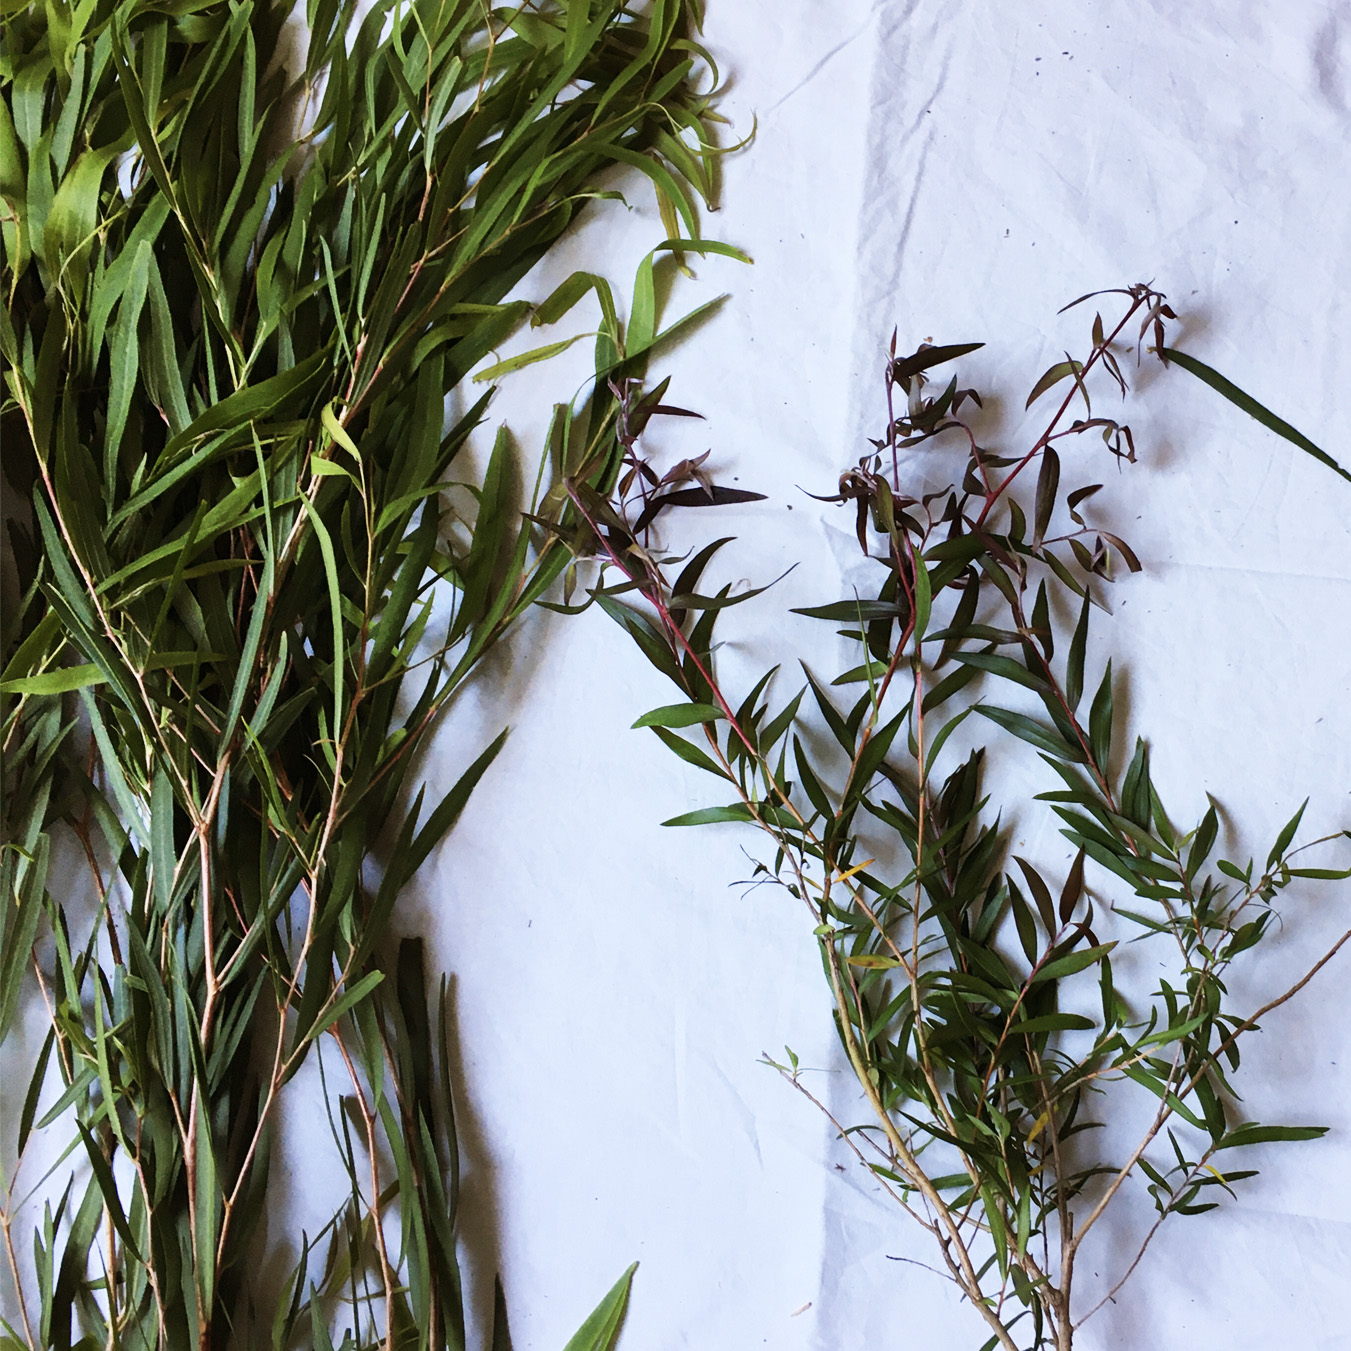
For my wreath, I used cuttings from my hedge, which is griselinia. You could probably also use oak tree branches, curly willow, or even long flax leaves—anything that will dry well and will be OK without a water source for four weeks. Ideally, you can forage around your own home or ask neighbours for cuttings from their own gardens—a great conversation starter to get to know your neighbours!
You will need:
- 10–15 pieces of florist wire (usually green in colour and quite thin; you can get these from florists)
- 10–15 pliable branches of your choice, stripped of leaves OR a store-bought wreath ring
- Floral scissors
- 10–15 branches of greens of your choice (rosemary, weeping myrtle, eucalyptus, pittosporum, camellia, etc.)
- 10 small sprigs of berries, flowers, or succulents, etc.
- Four Advent candles and a Christ candle (coloured candles can be found at LookSharp Stores or Church Stores)
- A board or large plate to move the wreath easily from place to place
Step One
Strip all the leaves off your chosen vines or branches (or start with a pre-made ring). Make sure to keep a few twiggy bits on the branches to give it structure and interest.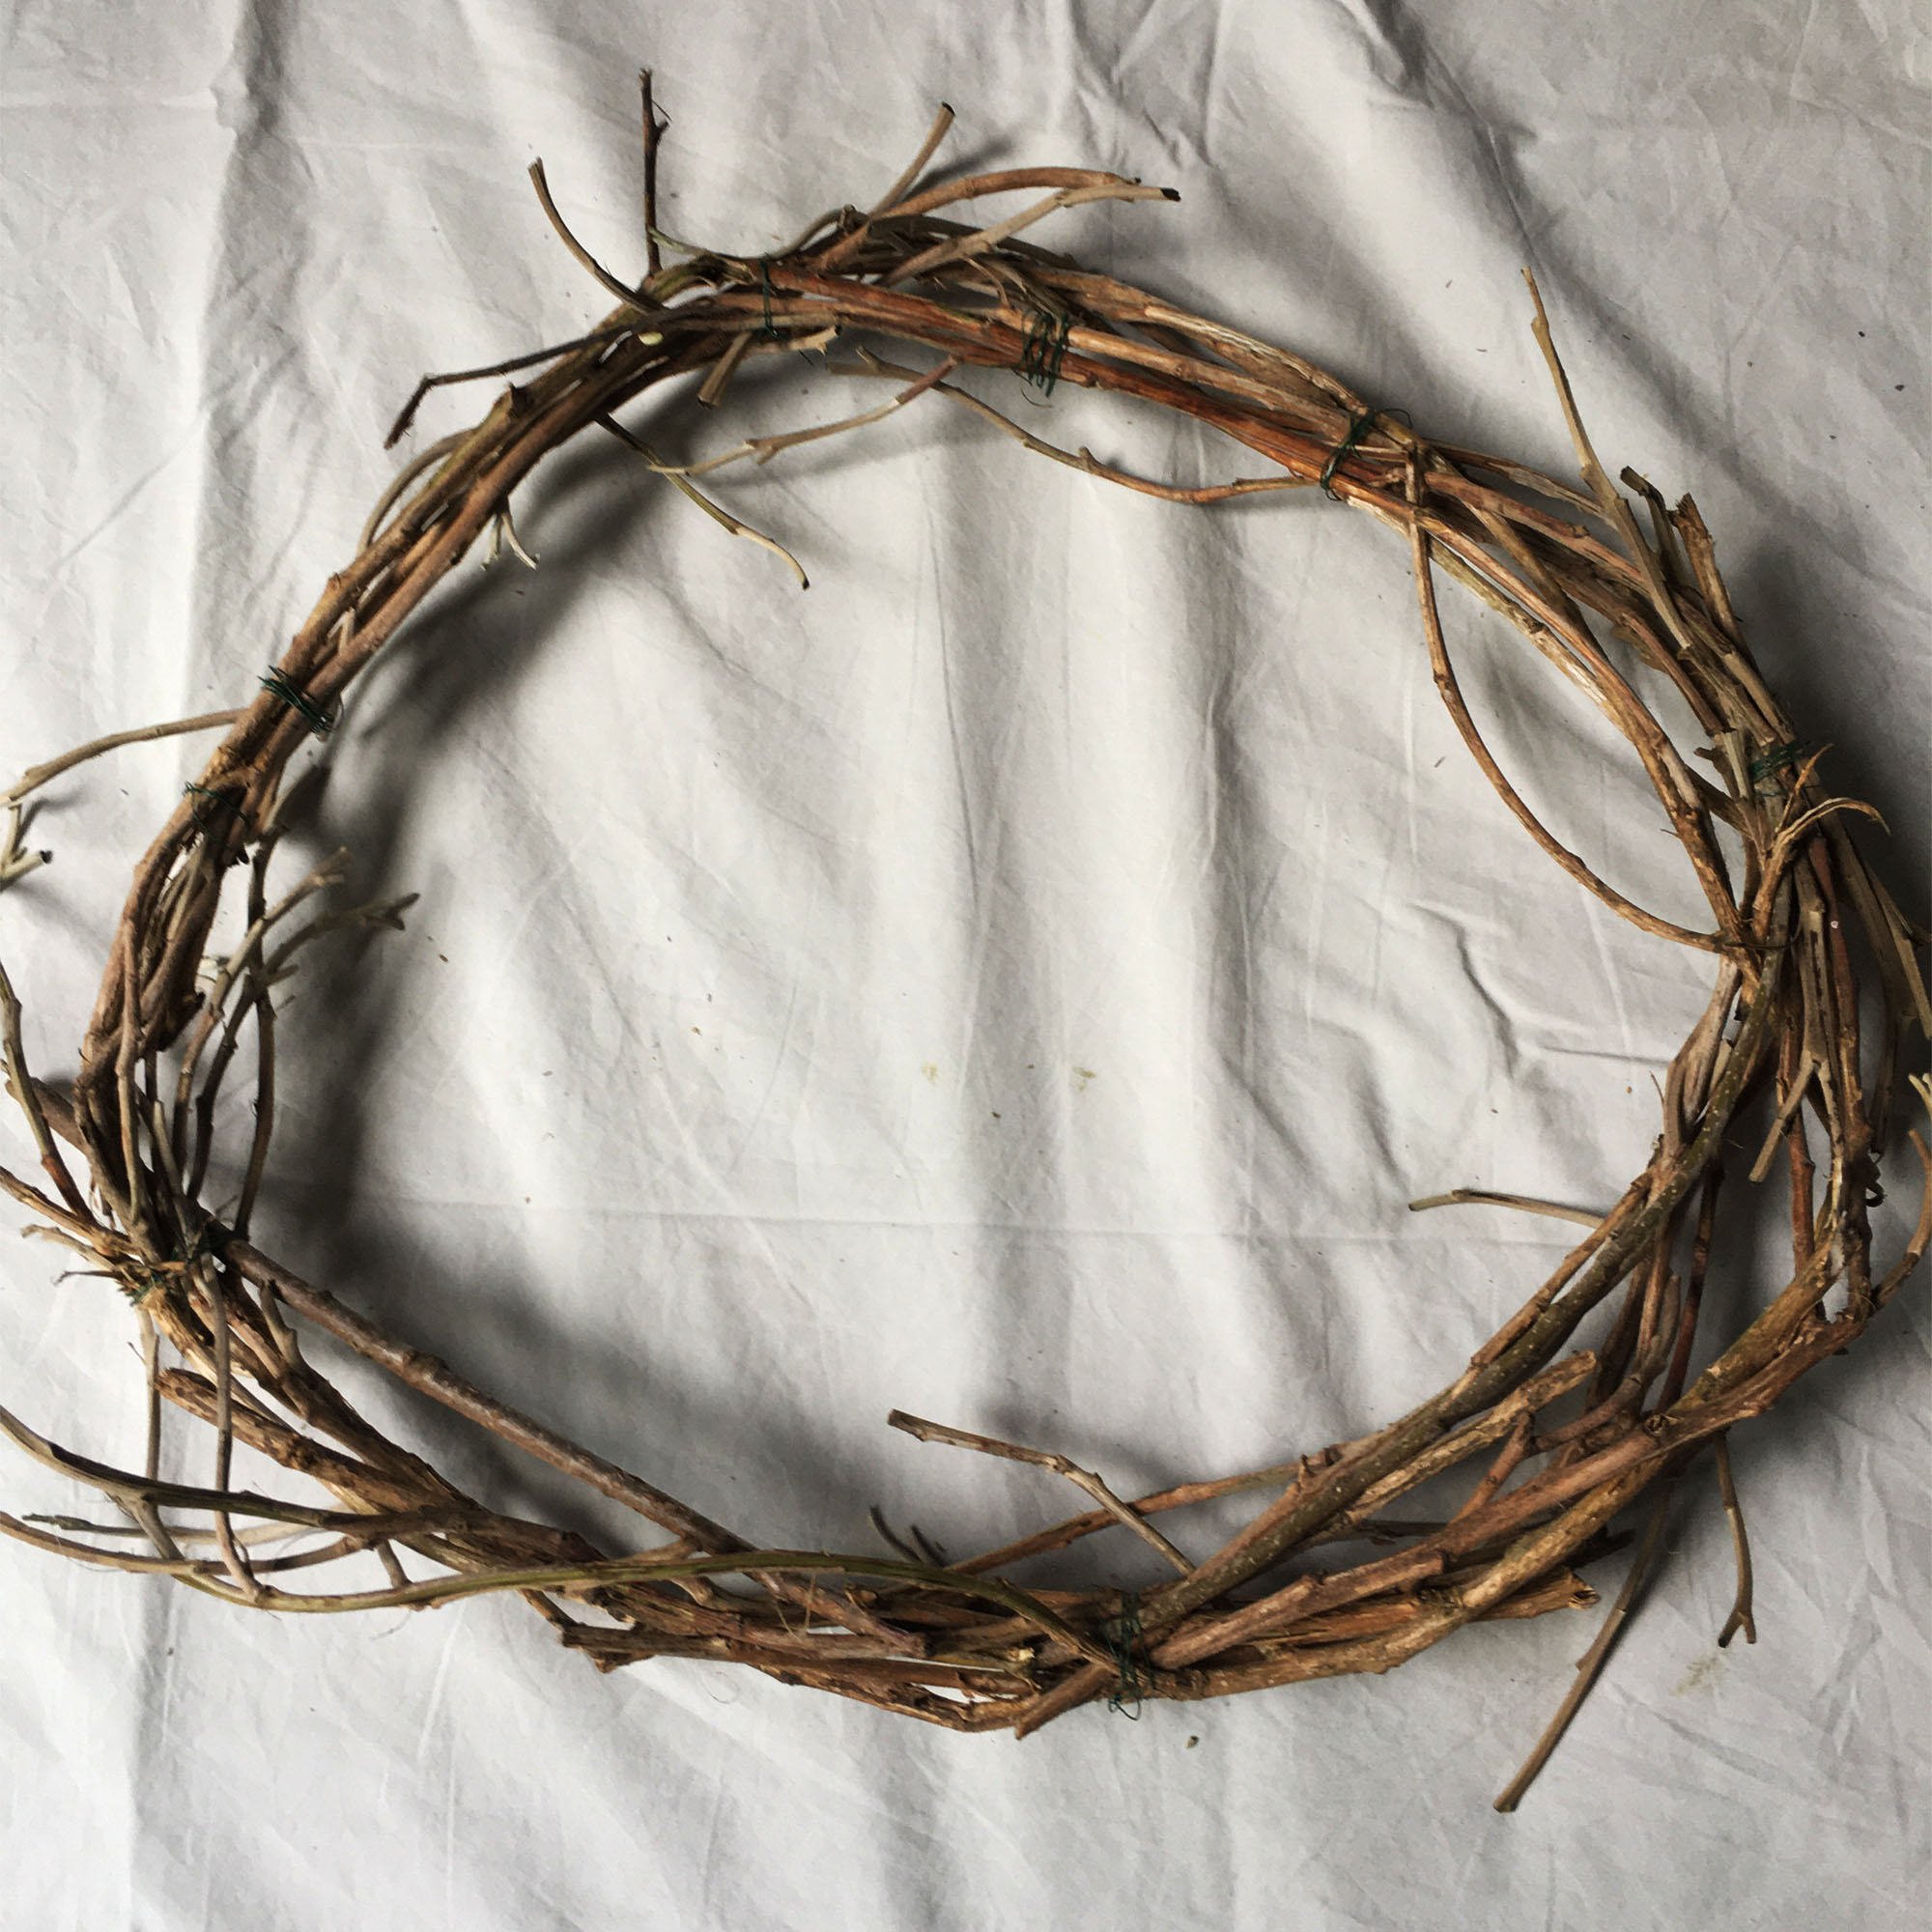
Step Two
Adding a few branches at a time, tie them together with florist wire. Continue to add branches and twigs with wire about every 10 centimetres. Don’t worry if you see the wires for now as they will soon be covered with greenery.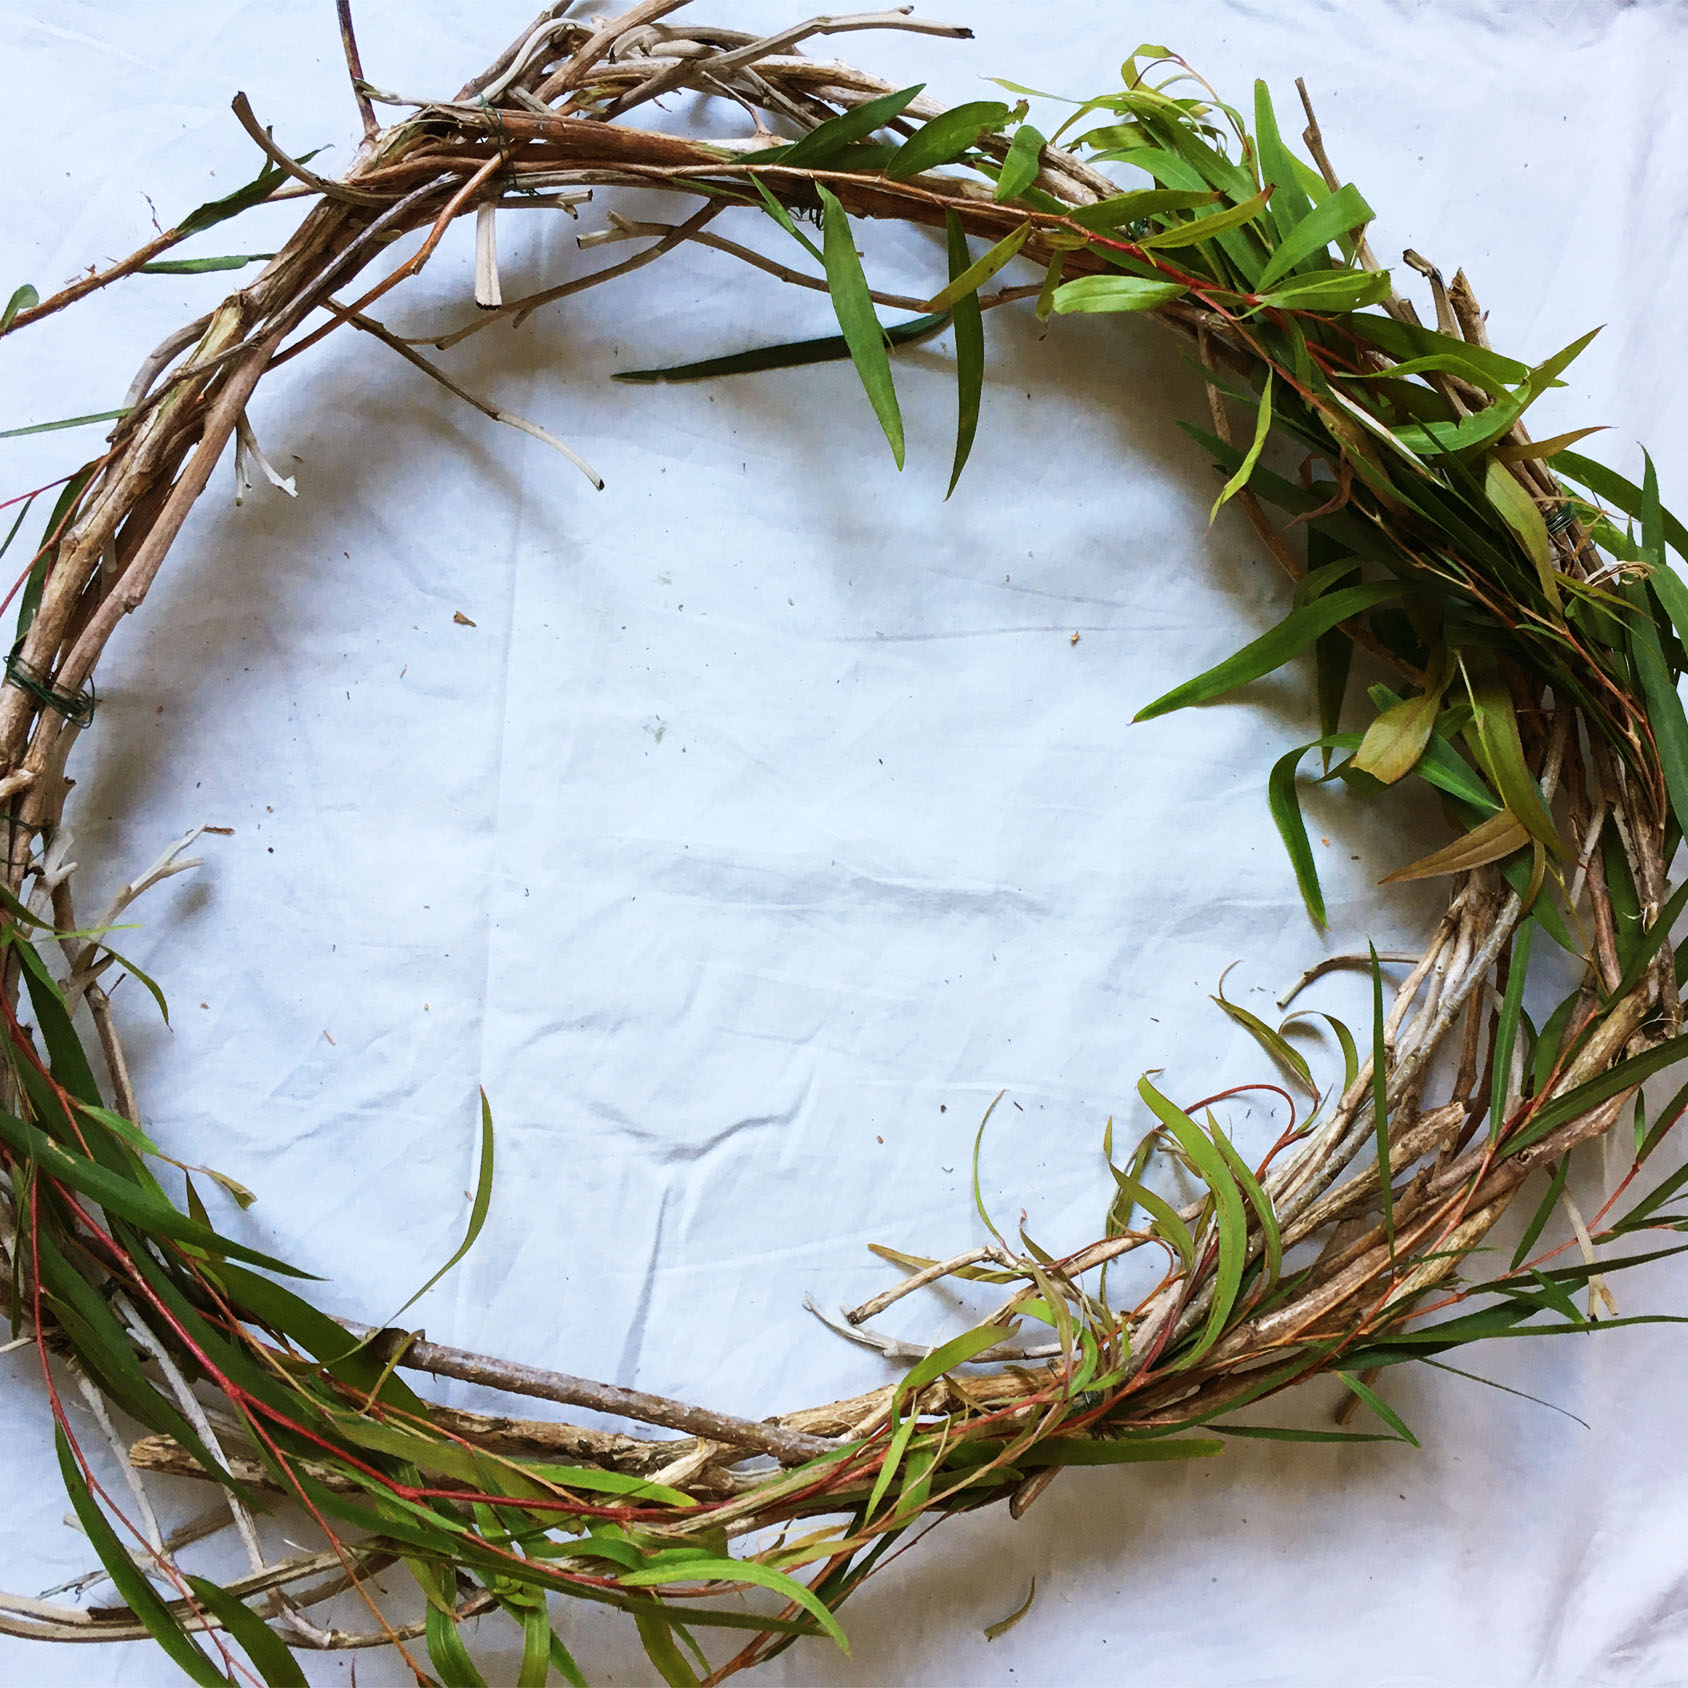
Step Three
Once you have a ring, add a few twigs to get the shape you want. Snip bits off to create an even size. Don’t worry too much about perfection at this stage as you can add more greenery as you go to hide mistakes. Feel free to push the wreath into shape to make the branches create a circle. Build branches onto the frame until you are happy with the structure.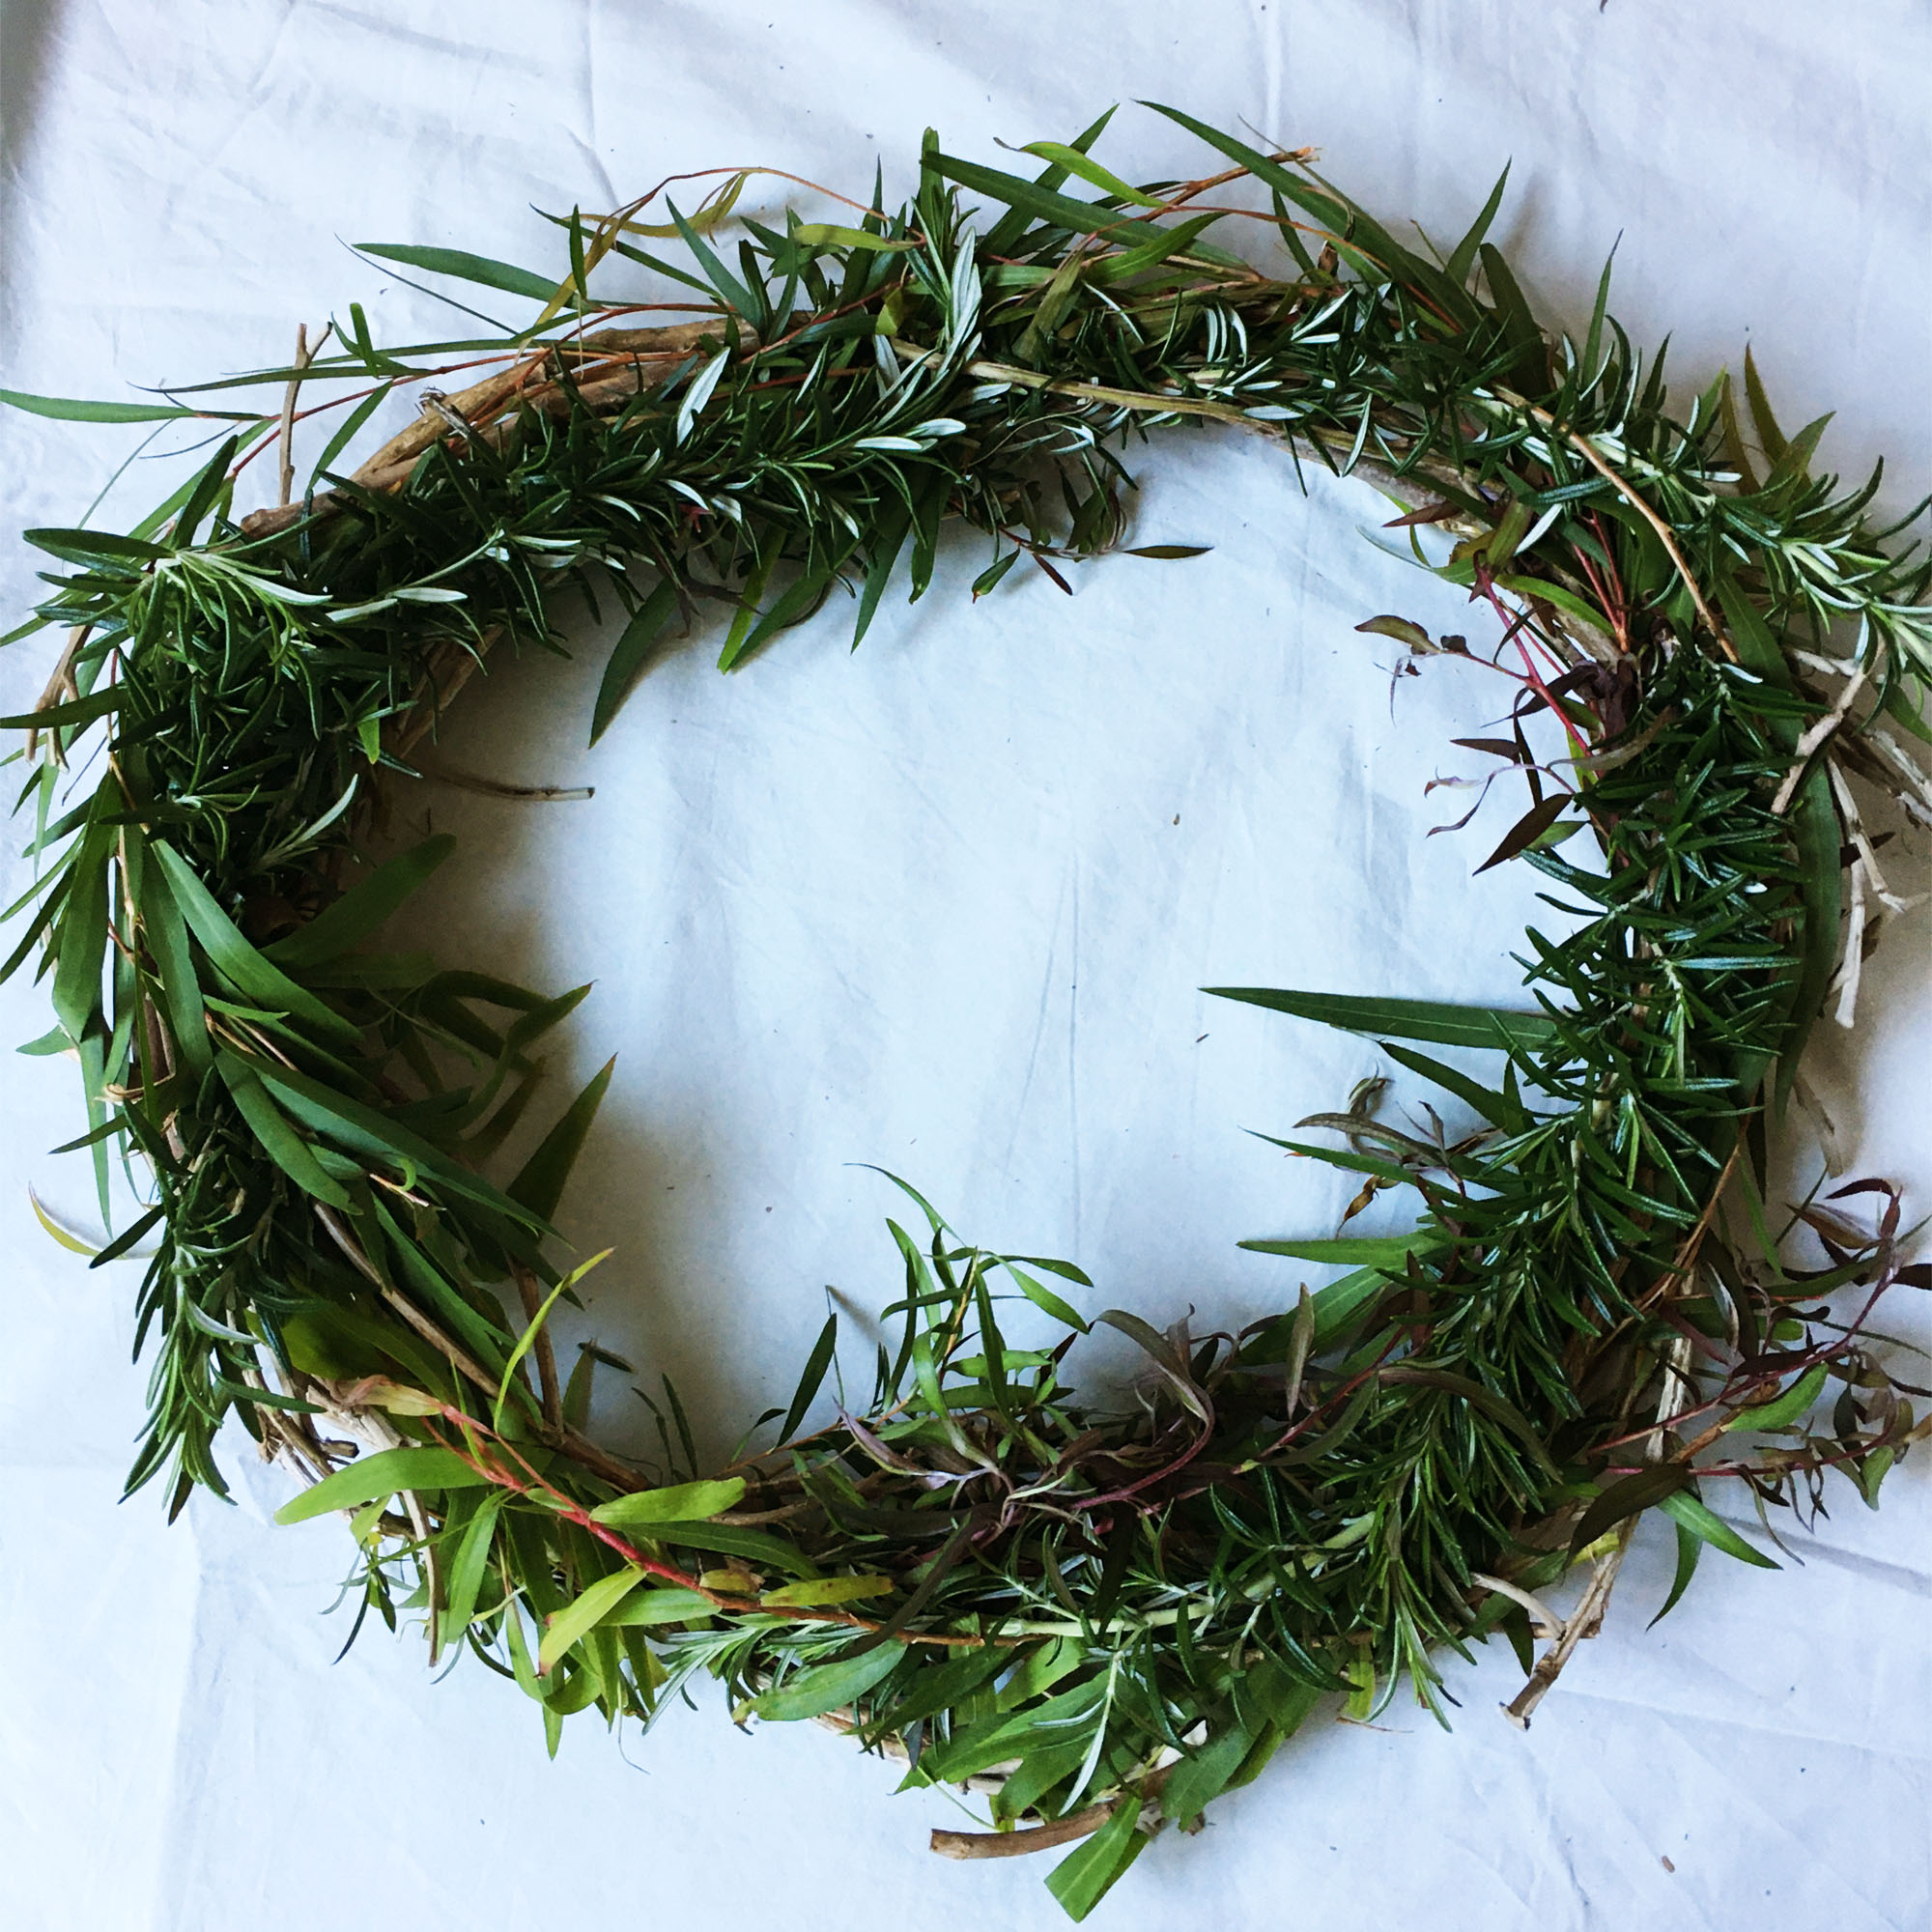
Step Four
Once you have your ring, begin weaving in the greenery. Do all of one kind first. Start with large leaves and branches, then move onto “spray” or “drapey” branches, and then short bits, before adding the final decorative pieces. I started with weeping myrtle, followed by rosemary sprigs, and then finished up with berries from my griselinia hedge.Make sure the greenery is caught by a bit of the wire you used to keep your frame together; this way, it’s very secure. Continue to add in the pieces until it looks full enough for you.
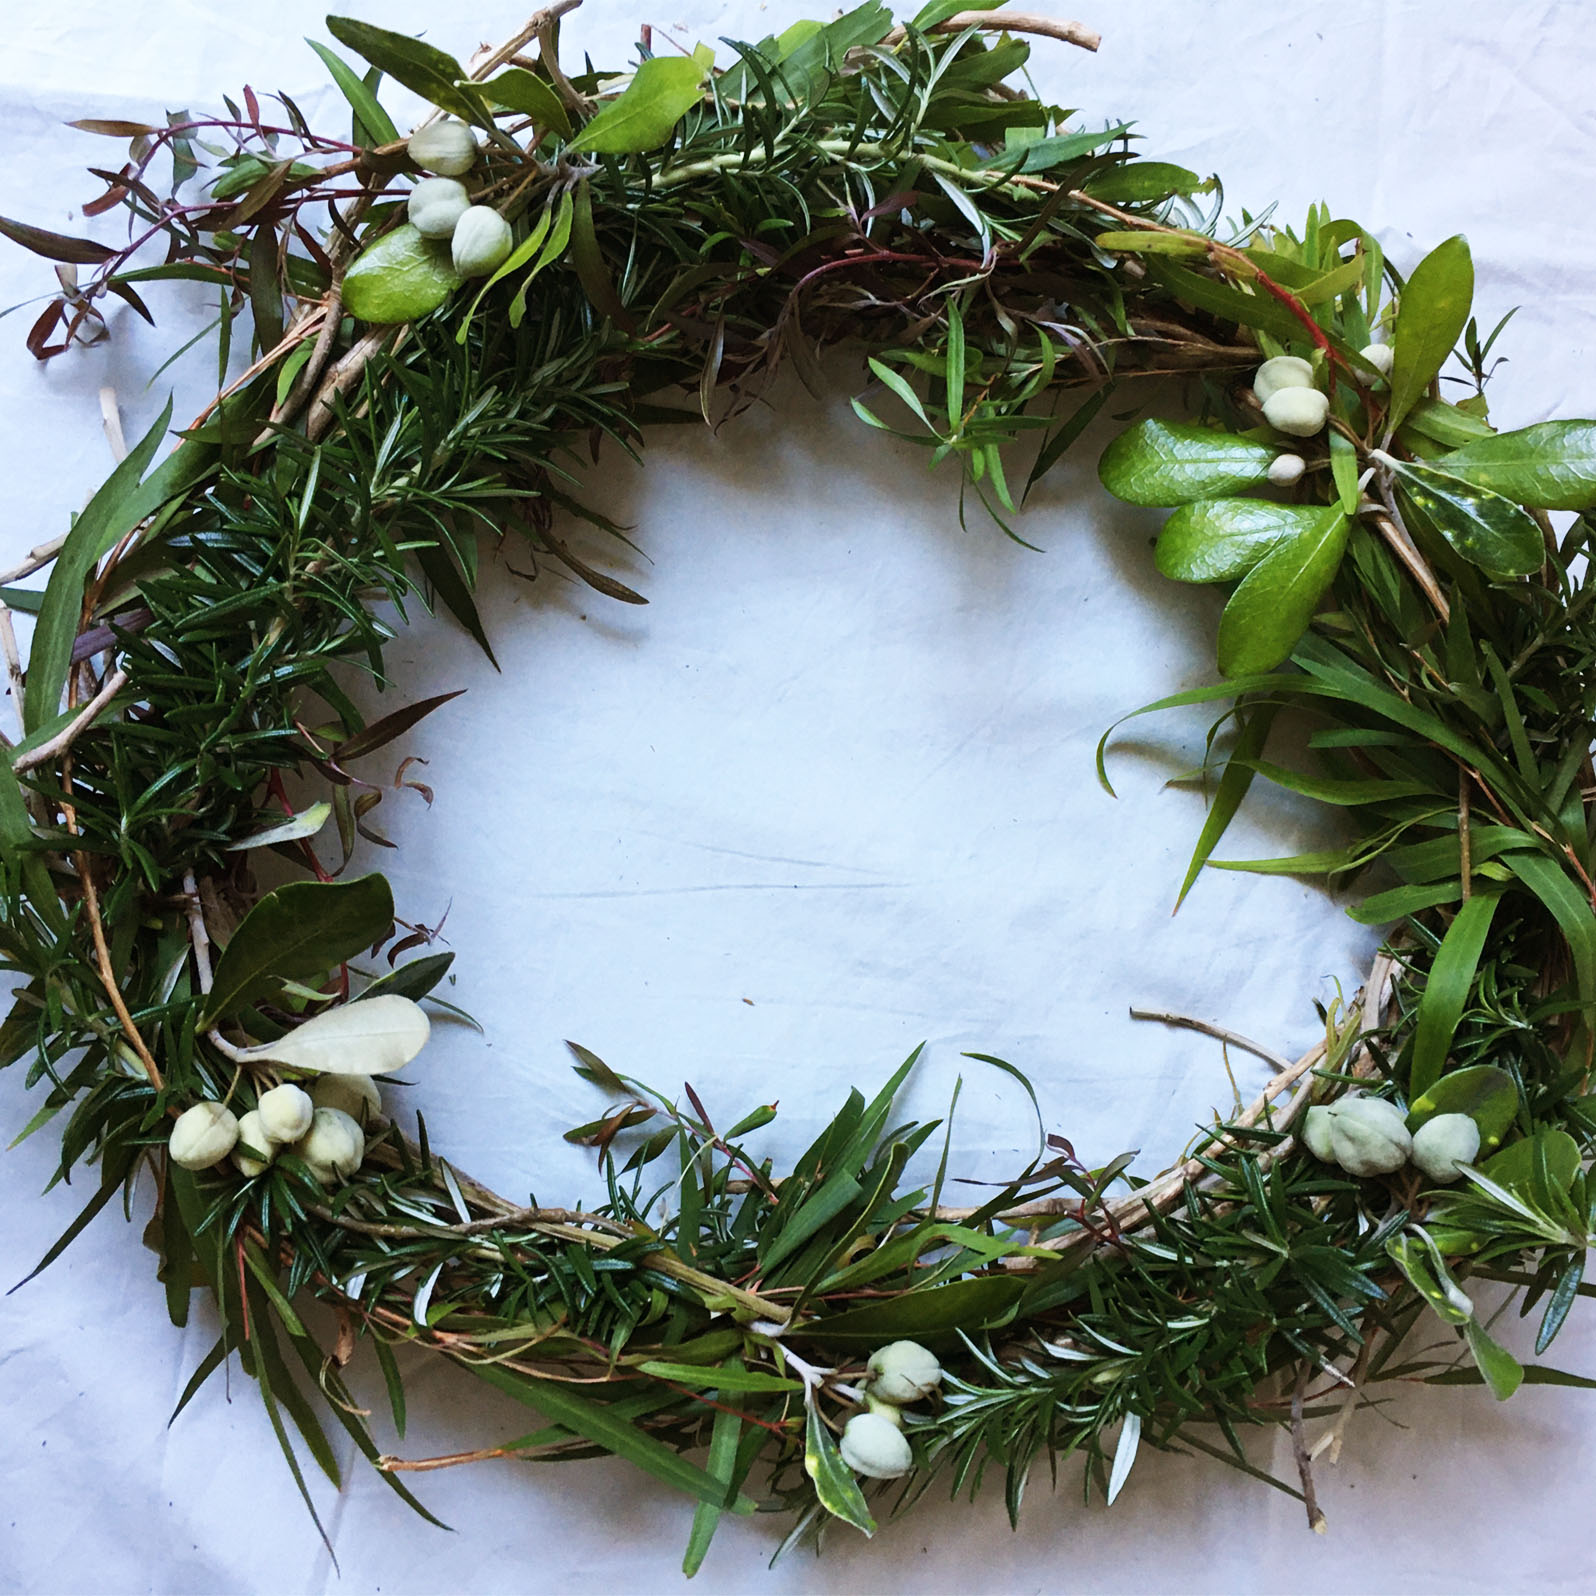
Step Five
To finish, add in smaller berries, flowers, or succulents. Remember that these are probably a bit more fragile and will dry out faster so think well about what will last the best. Flowers will only last a day or two out of water. Succulents need to be potted within a few days but can be added for effect on special occasions. Feel free to use dried plant material or dried flowers as well. You are limited only by your imagination!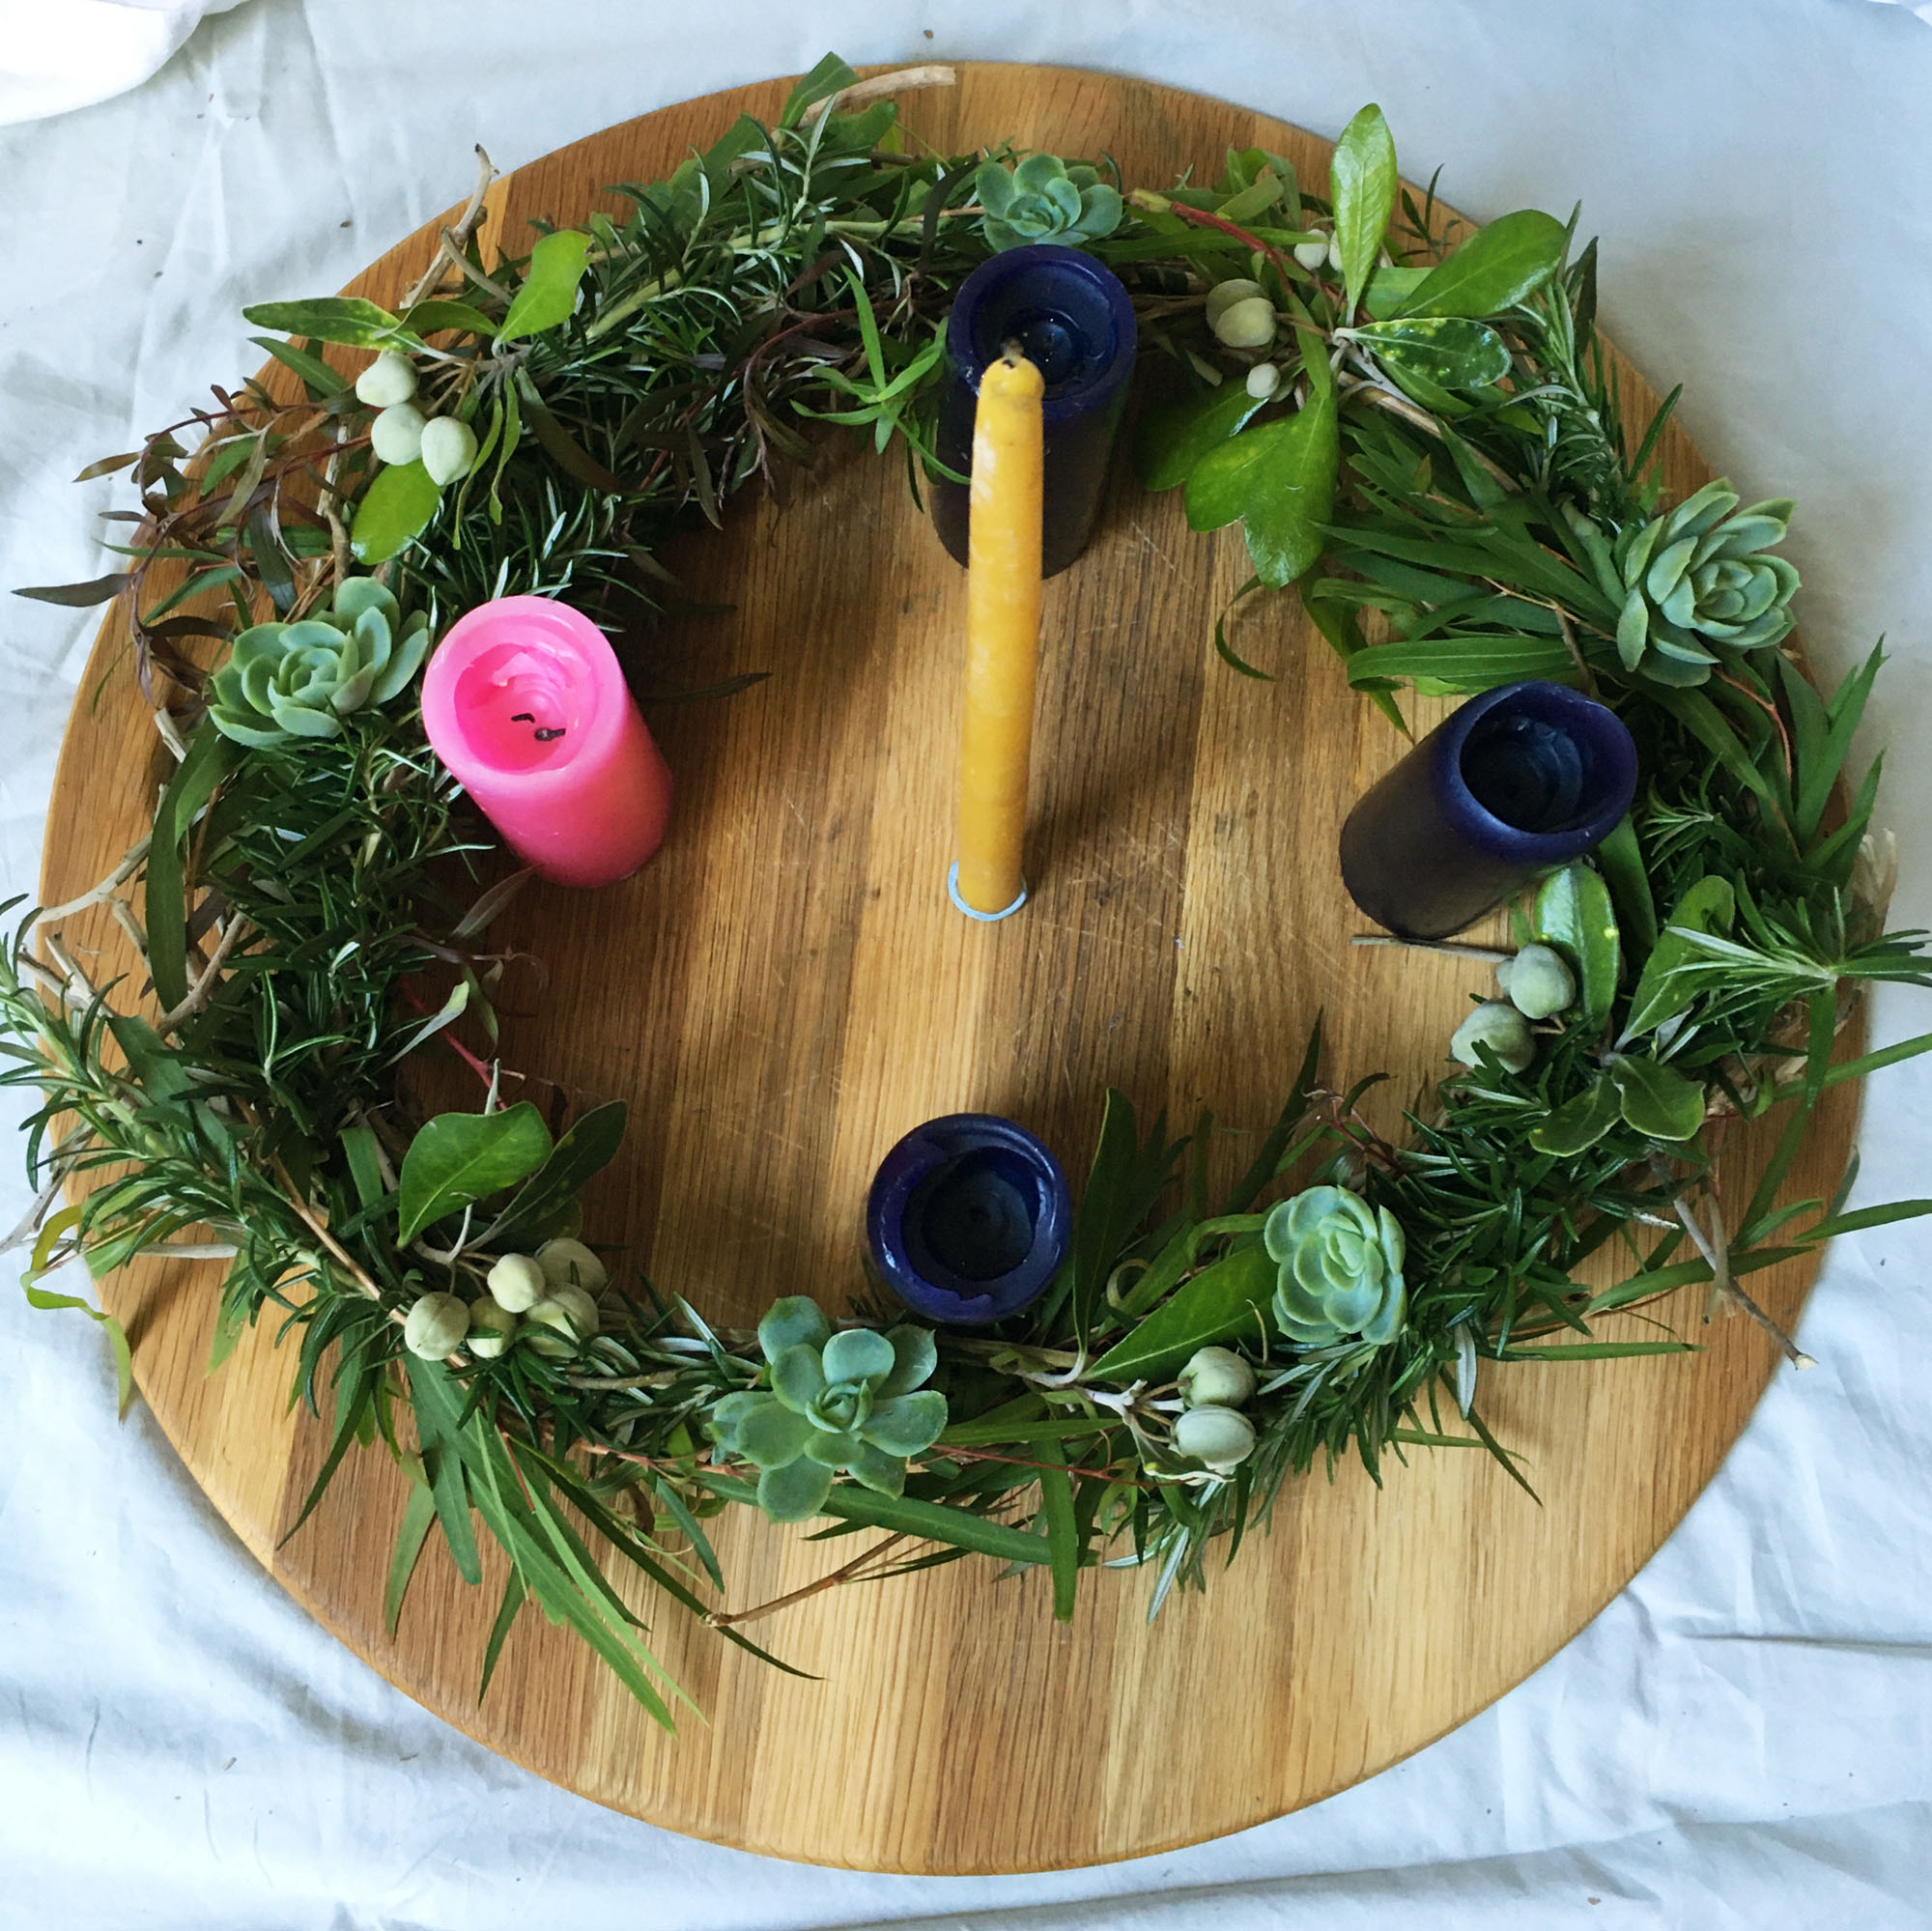
Step Six
Place your wreath on a plate or cutting board and add your candles in the centre. Enjoy your Advent wreath! We place ours on our dining room table and light it in the evening when we do our prayers with our children before bedtime.As the weeks progress:
If you want the fresh look, you might need to refresh your wreath with new greenery as it dries out. If you don’t mind the “dried look,” then just leave it as is. In order to assess which greens look the best, you will need to do some experimentation. Some greens will last weeks and dry really well while others will only last a few days. Ideally, refreshing the wreath will just be a matter of swapping out the green “bits” and leaving the frame.
Enjoy your wreath as you light your candles this Advent! And don’t forget to check out the Advent Devotional Cards to help you journey through the season.
